Pro Tips for Laying Down Waterborne Paint on a 1966 Chevy Wagon
Waterborne paint has a different set of rules compared to solvent-based paint, so we head over to Old Anvil to get some tips and tricks.

Painting a car is actually pretty easy. Hell, we’ve even shown how to do it with some plastic and a paint roller. Where the costs of a good paint job come from has more to do with the prep work before and, to a lesser extent, the costs to color sand and buff out any imperfections later.
AI Quick Summary
The article details the process of painting a 1966 Chevy wagon with waterborne paint at Old Anvil Speed in California. It covers differences in evaporation, the importance of airflow, masking techniques, and the sequence of applying sealer, base color, and clear coats for a high-quality finish.
This summary was generated by AI using content from this MotorTrend article
Read Next
0:00 / 0:00
Many states now require the use of waterborne paints instead of the traditional solvent-based paints. This is on a state-by-state basis, but this 1966 Chevy wagon is being painted at Old Anvil Speed in Orange, California, so as you can guess, solvent paint is off the table. To see what was involved in getting paint from the can to the wagon, we stopped by Old Anvil for a play-by-play demonstration.

The main difference between solvent and water is how the two evaporate. The key aspect with solvent is temperature, while water is driven more by humidity. With waterborne paint, airflow is the key to faster drying times. The irony here is that the older cross-draft booths are better than the newer downdraft type. Why? Well, as the water evaporates from the paint surface, the air molecules near the surface become saturated and can’t hold more water, which slows the process. If the air is kept moving across the drying surface, the saturated air is constantly being replaced with unsaturated dryer air. That’s why shops will sometimes use specialty air guns to speed up the waterborne drying process on sensitive areas or areas not getting enough airflow.
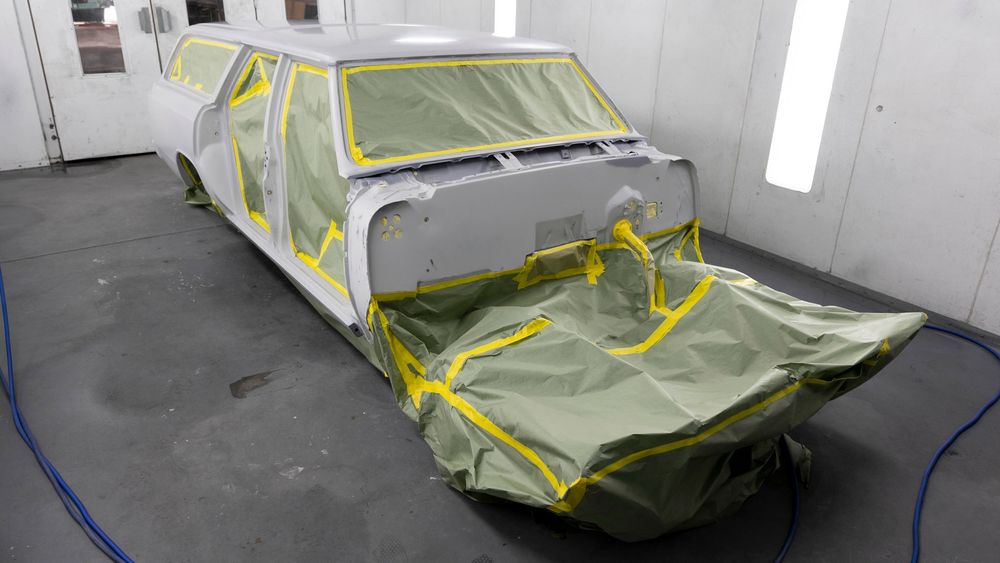
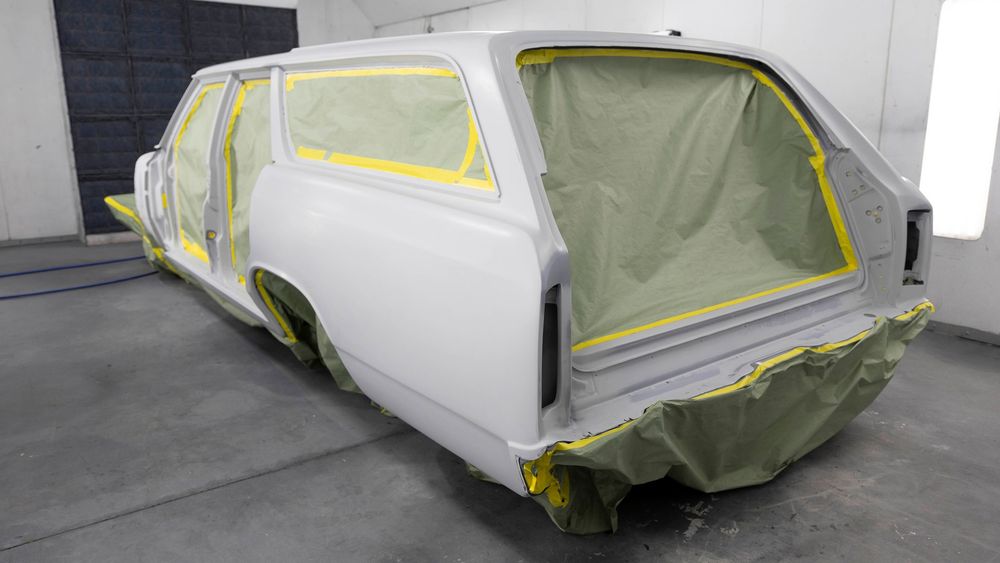
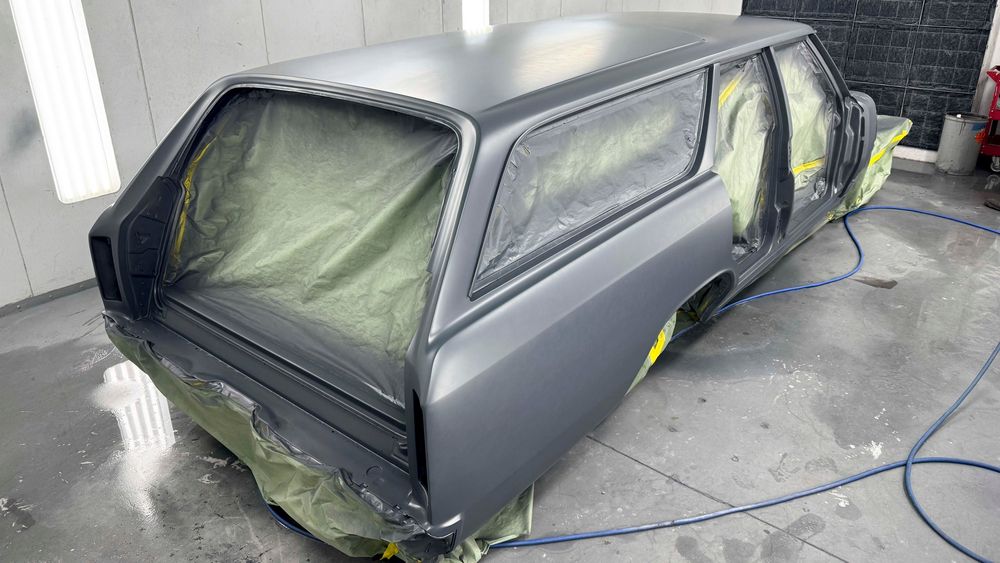
Mike Selvaggio’s 1966 Malibu wagon is already mounted to a completely painted and detailed Art Morrison chassis, so masking off all the areas they didn’t want paint contamination on was pretty important. The color for the wagon is PPG 2024 Jeep Sarge Green, as found on newer Wranglers. We don’t see enough green hot rods, so it’s nice to see someone working outside the box a bit.
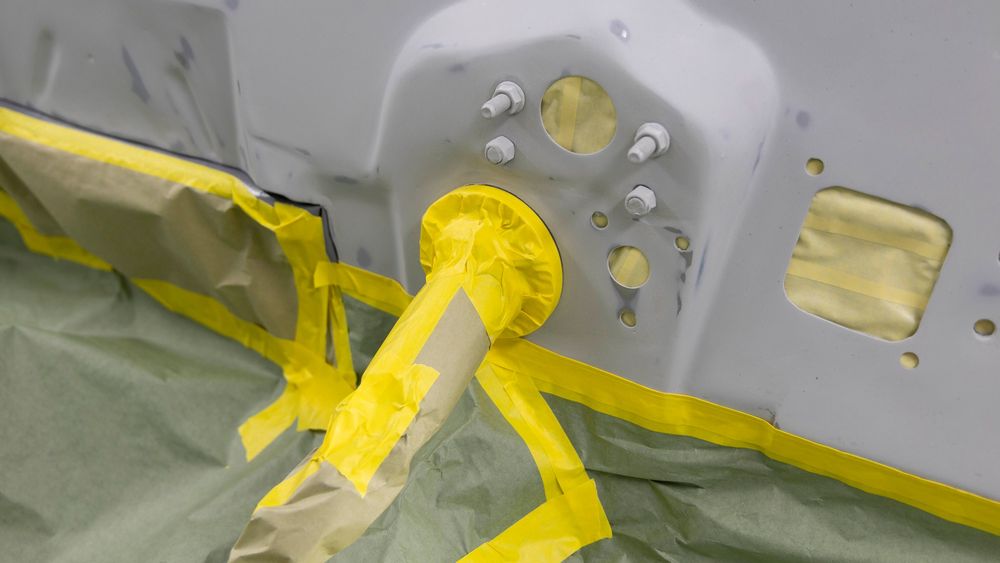
Taking your time with the masking process is key to a good final result. If you miss a hole or other opening, the paint will find its way inside and potentially end up somewhere you don’t want it, which will just cause you more money and labor costs down the line.
Many holes needed to be masked off from the inside of the wagon, so Old Anvil made sure to do this before taping off the rest of the project. Taping holes avoids overspray penetration, but it also keeps dust and dirt from blowing out while painting.
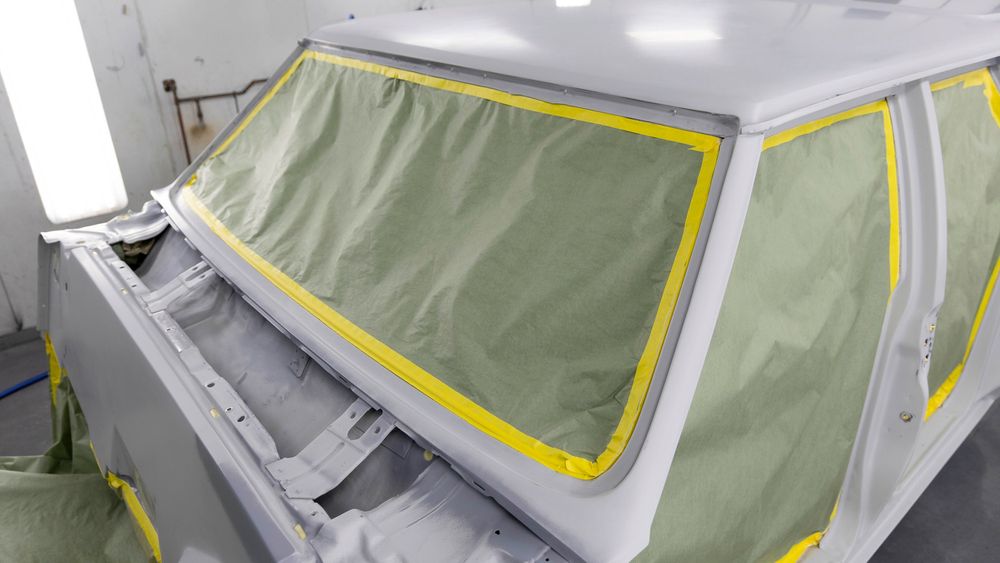
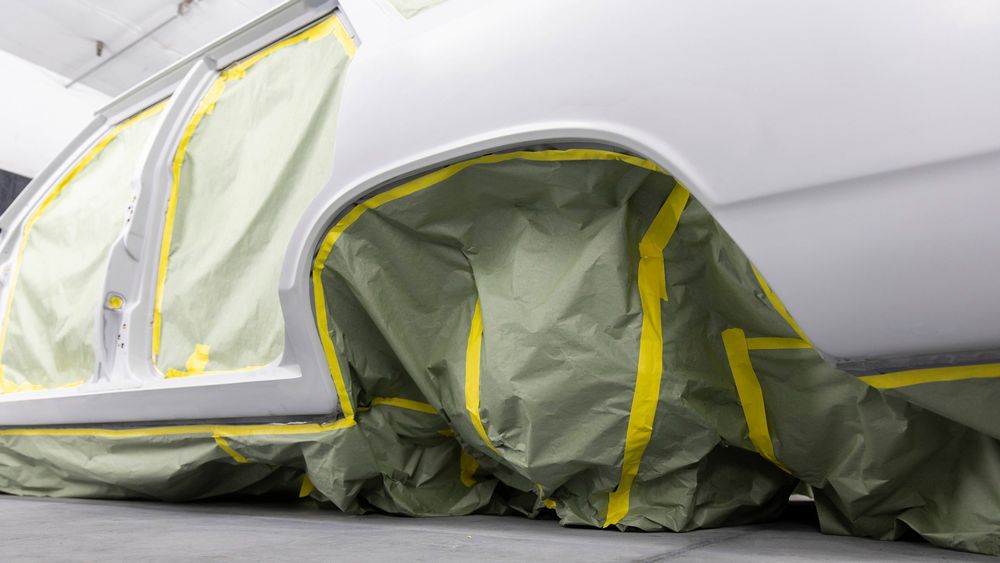
There’s almost an art to masking off large openings like windows and door jambs properly. Old Anvil wasn’t worried about bleed-through, so they didn’t go with coated paper for this project.
Not all masking tape is created equal, and the tape used for a paint project is critically important. A good tape will be able to resist high temperatures during multiple drying cycles, which can take hours. It also needs to be removed easily without leaving any residue behind. Lastly, it needs to be durable but also tear easily and conform to the various curves found on a vehicle. The lesson here is to not cheap out on your materials and cause yourself even more work down the road.
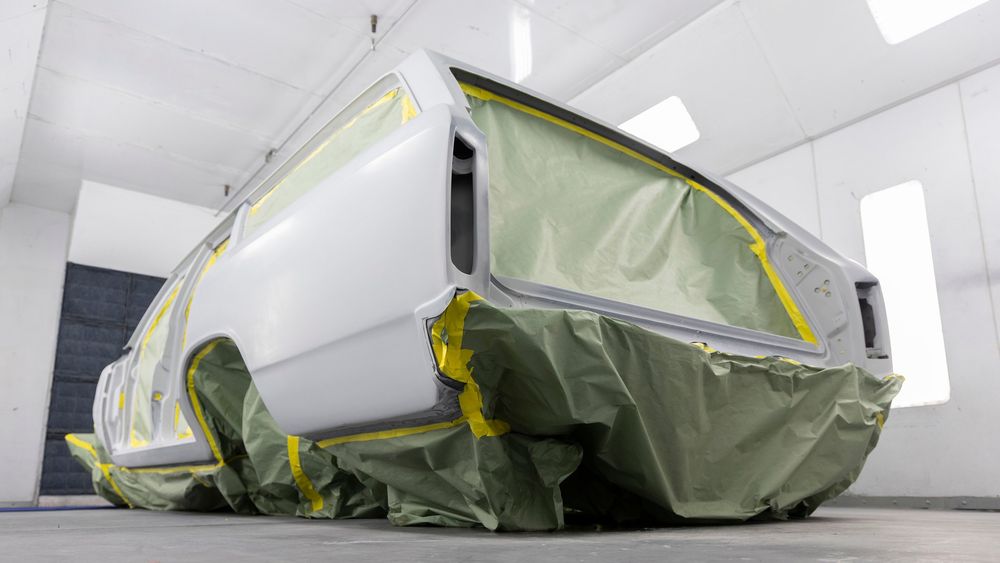
The 1966 Chevy wagon is huge with more doors and windows than a typical hot rod project. More openings and more surface area mean more materials and labor is needed to get everything properly prepped for paint. Make sure you factor that into your budget.
Old Anvil made sure the paper went all the way to the floor to ensure overspray stayed off the detailed AME chassis. All of this extra labor will save time later on, and remember, time is money.
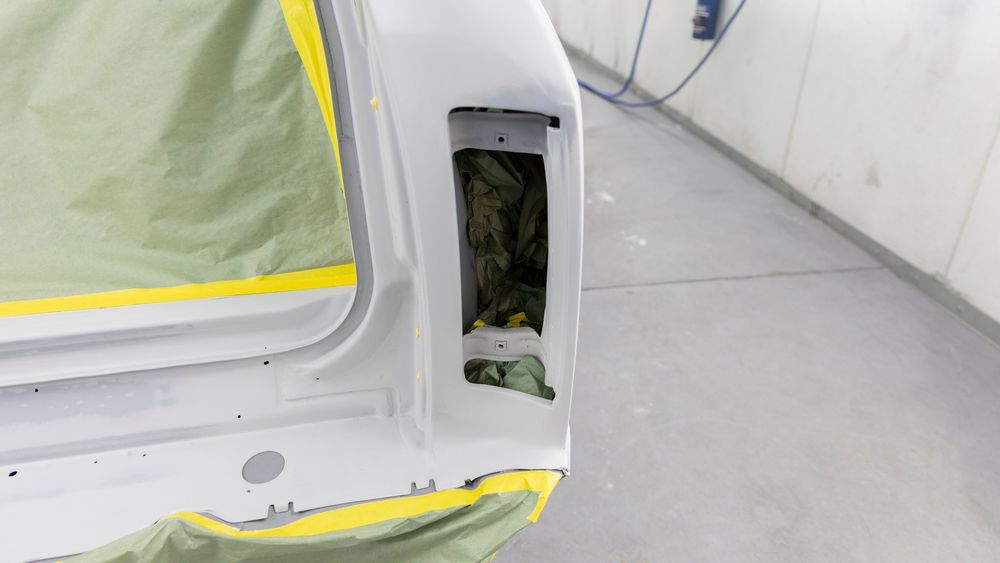
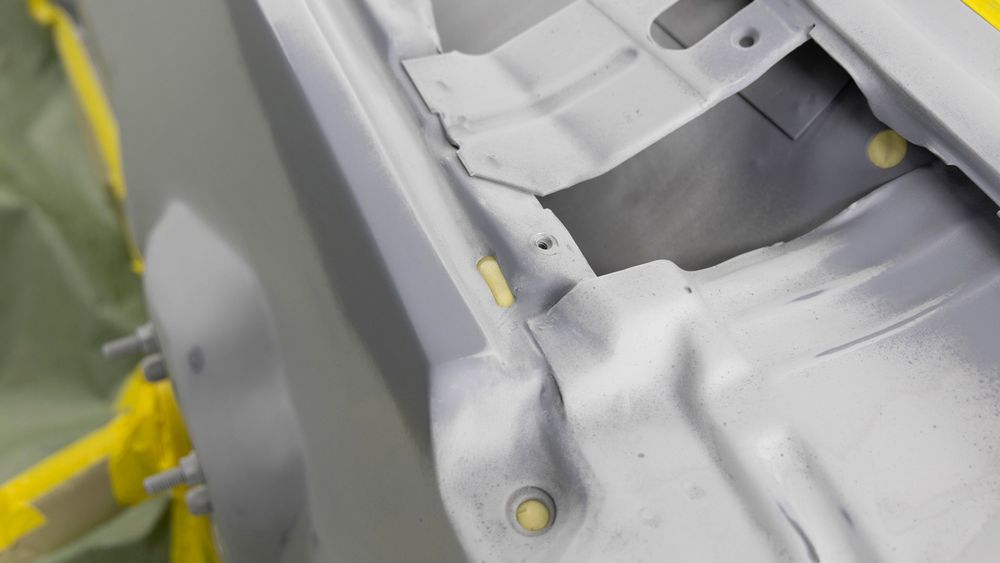
Paint will find its way in during the process, so Old Anvil made sure to stuff openings, like these for the taillights, with scraps of masking paper.
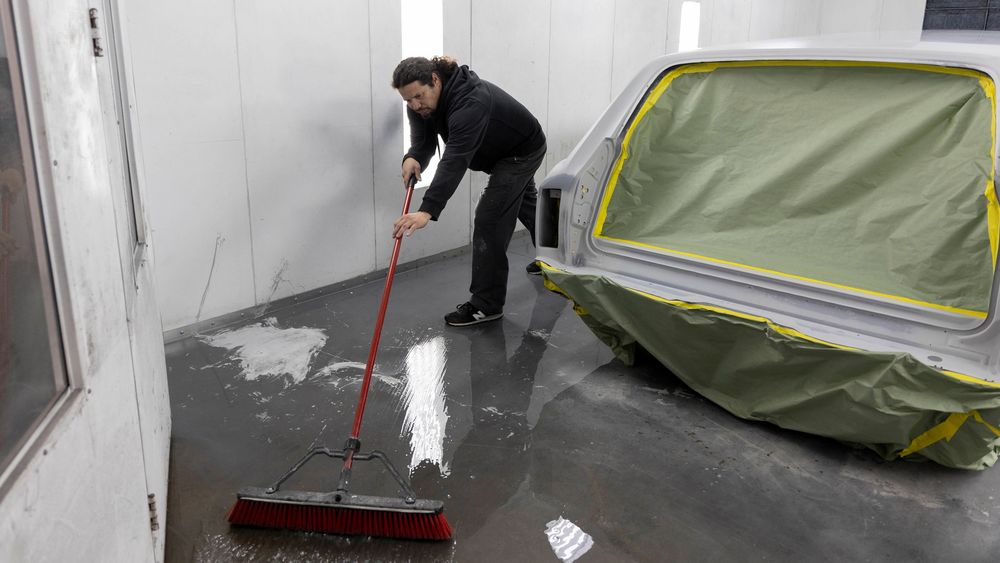
Wetting down the floors really helped with keeping dust and other contaminants to a minimum. Remember, every speck of dust will have to be addressed in the color sanding process, and the paint gun will kick up every particle from a dry floor.
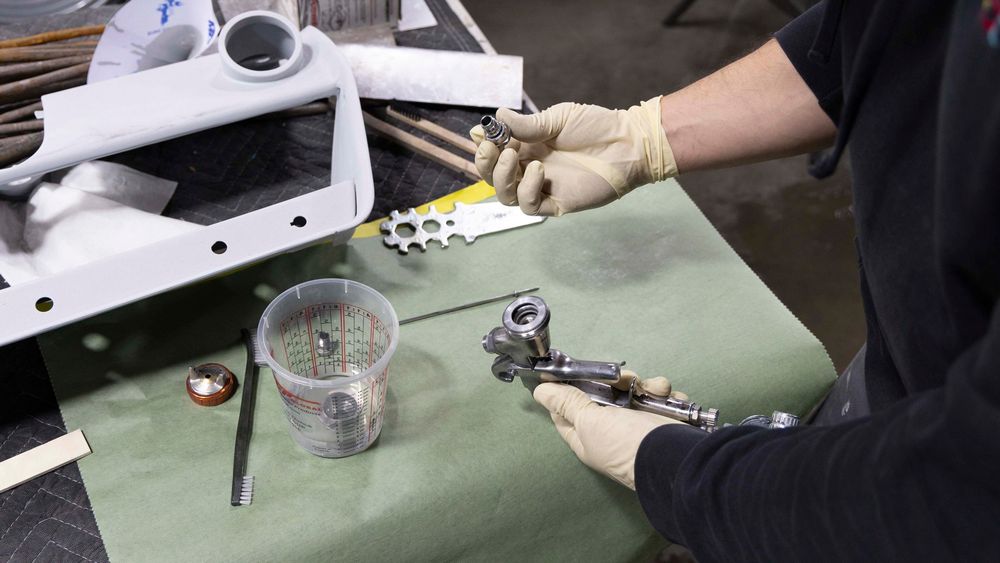
Waterborne paint requires guns up to the task and generally employs stainless parts that won’t rust or corrode. Old Anvil made sure to thoroughly clean the guns before and after each spray.
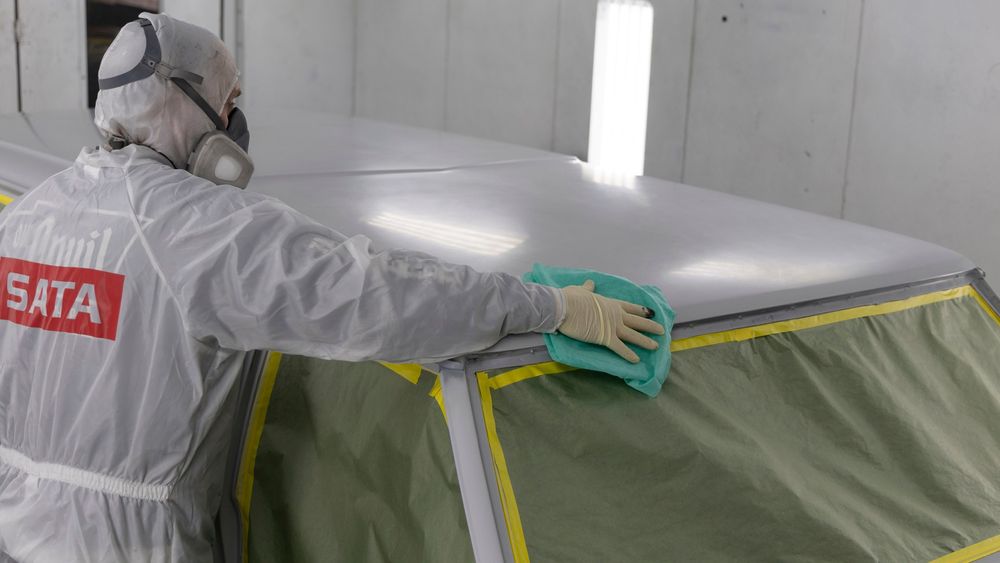
The last step before picking up the spray gun was to go over the wagon with a Gerson synthetic Ultra Prep tack cloth.
First up Paul Bosserman, owner of Old Anvil Speed, laid down a dark gray sealer coat. “The sealer was used to seal everything below to prevent any issues with the primer or body filler contaminating the paint,” Bosserman said.
The sealer is also crucial for giving a proper base for the final color. If Old Anvil had used a white or light-colored sealer, it would have been very noticeable under the base coat.
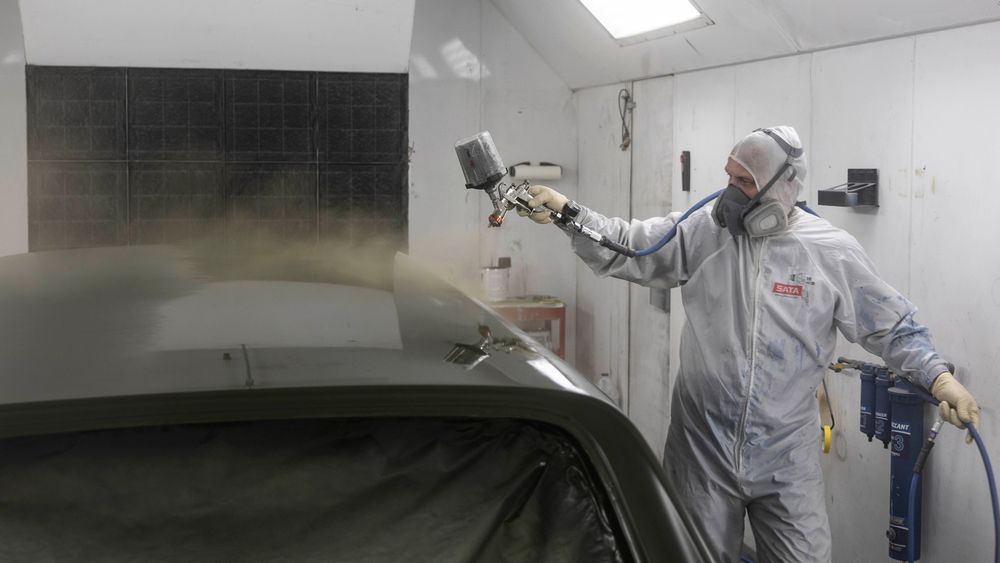
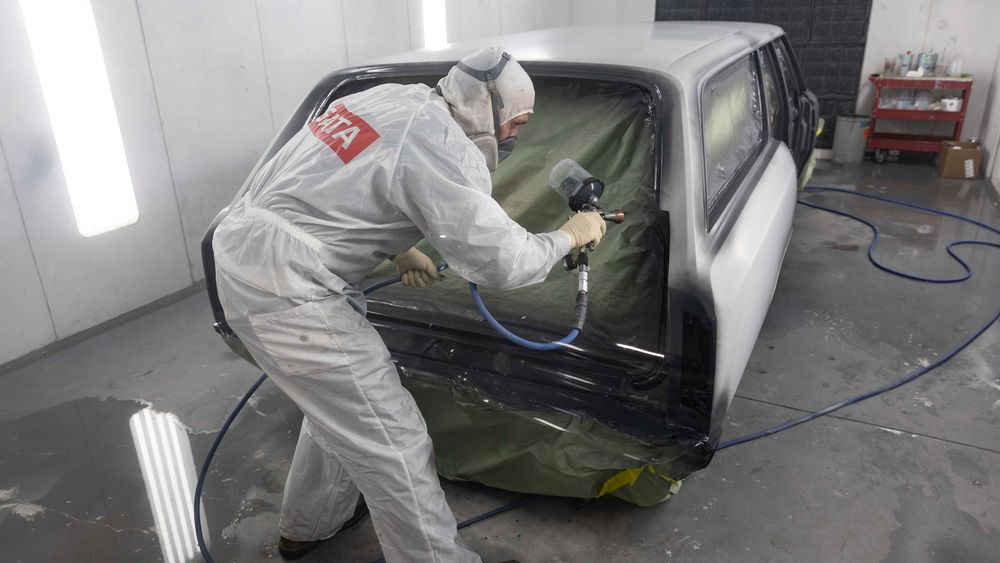
With the sealer cured, it was time to add some color, in this case 2024 Jeep Sarge Green from PPG. California only requires the base coat to be water-based. The primers, sealers, and clears are all just as they’ve been, solvent based. The second thing to keep in mind is that waterborne basecoats aren’t all water. Water replaces a large part of the solvents, but some solvent (roughly 10 percent) remains in the paint. This mixture of water and solvents acts as a carrier to move the “color” from the spray gun to the surface of the car. The water and solvents then evaporate, leaving behind the pigments and resins that give a car color. With waterborne you just have far fewer volatile organic compounds (VOCs) going into the atmosphere.
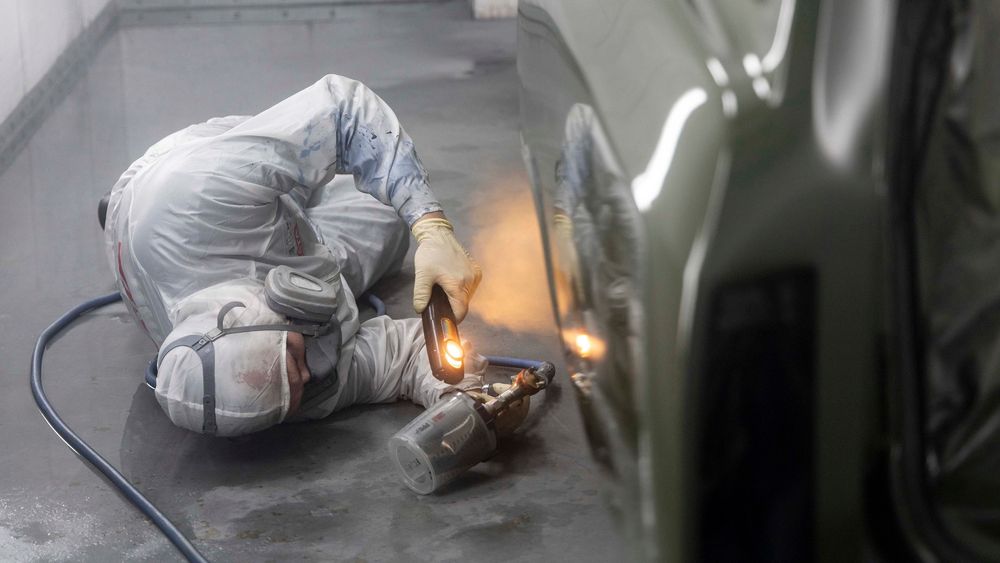
With a high-quality paint job, as much care will be spent on the underside of the panels as on the top. To ensure good coverage, Bosserman used a light so he could make sure nothing was missed in the harder-to-spay areas.
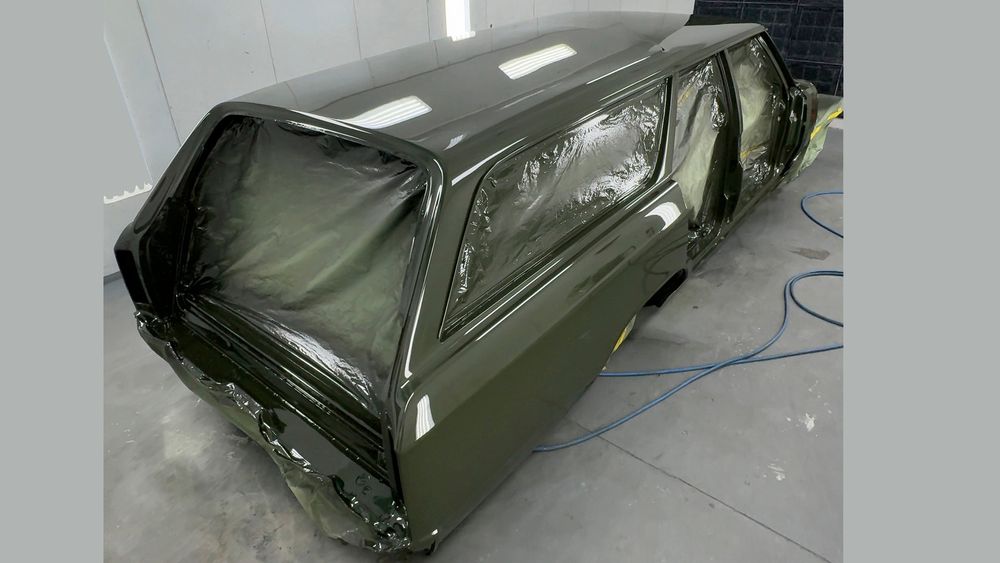
And with that the wagon was fully sprayed and in the process of curing before it leaves the paint booth. All told, there was one coat of sealer before the paint, and for the color there was one full wet coat that was allowed to fully dry before a second light coat of base was added. Bosserman then did a final “blend” coat of base where he turned the pressure down from 20 psi to 15 psi to help get rid of any modeling in the paint. Once all of this was cured, the wagon got three full coats of PPG clear. The total cost of PPG sealer, paint, and clear was around $5,000. The shop estimates the wagon will need around 40 hours of color sanding and buffing to be show ready, but that’s another story for another day.
Born and raised in Southern California I started as the technical editor for Popular Hot Rodding (PHR) magazine where I learned the business before moving over to work with Nick Licata, at Camaro Performers, as his tech editor. At PHR I built a 1968 Camaro called Bad Penny that was one of the earlier pro-touring cars that actually ran the track hard. We won the first Optima Ultimate Street Car Invitational in 2008 and placed well several other years. At Camaro Performers we started several project cars and did a ton of tech. Eventually I was made editor of Vette magazine for a short time before being slotted to run Super Chevy magazine. Running the brands was fun, but I've always enjoyed being a technical writer more. So after more than 15 years I'm back to writing tech content, this time for the HOT ROD network. I enjoy being with my family, shooting, and working on my latest car, a 1969 Camaro called Tri Tip.
Read More